
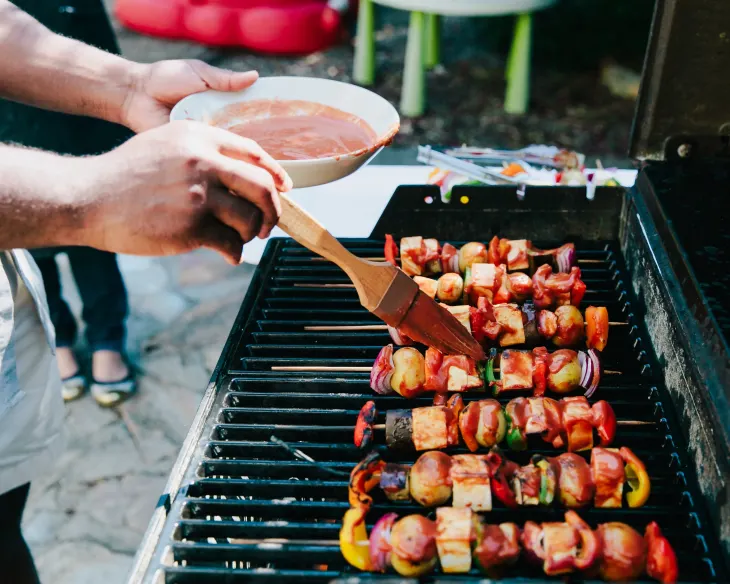
Improving at the grill does not require a new machine every season. A repeatable method matters more. The following guide moves from planning through service, with warnings for the errors that spoil food or create unnecessary risk.
Step 1 Decide what you want to learn
Choose one aim for each practice session. It might be keeping charcoal stable, cooking chicken safely, producing a better crust, or using smoke with restraint. One clear aim makes results easier to judge.
A structured corso bbq can shorten the learning process because an instructor can watch fire management and food handling as they happen. Reading helps, but live correction catches habits that the cook may not notice.
Step 2 Prepare the work area
Place the grill on a stable surface away from walls, branches, children, and busy paths. Keep raw and cooked food separate. Arrange tools, gloves, trays, seasoning, and a thermometer before lighting fuel.
Warning. Never use petrol or another unsuitable accelerant. Follow the equipment maker’s lighting instructions and keep a suitable fire extinguisher nearby.
Step 3 Create more than one heat zone
For charcoal, bank the fuel on one side. For gas, use different burner settings. The hot area colours food, while the cooler area allows slower cooking and provides somewhere to move ingredients during flare ups.
Takeaway. Two zone cooking gives you options. A grill with one fierce temperature turns every delay into burnt food.
Step 4 Wait for useful cooking heat
Do not place food over charcoal while heavy ignition smoke is still rising. Let the fire develop and adjust vents gradually. Preheat gas grills and clean the grate with a suitable tool.
Warning. A hand held above the grate is not a precise thermometer and can cause injury. Use the grill gauge as a rough guide and a probe for food.
Step 5 Prepare ingredients for browning
Remove excess surface moisture and apply salt or a measured rub. Very wet marinades may prevent browning and create flare ups. Keep sugary sauces for the later part of cooking.
Takeaway. Dry surfaces and controlled heat make colour easier to achieve. More sugar is not a substitute for good browning.
Step 6 Cook with a plan
Know which items need direct heat, which need slower cooking, and which can rest. Begin long cooking foods first. Add fast vegetables, thin cuts, and bread when the timing suits the planned serving moment.
Avoid moving food every few seconds. Give it time to colour, then turn when it releases from the grate. Move it to the cooler zone if the outside is ready before the centre.
Step 7 Measure internal temperature
Insert a clean probe into the thickest part without touching bone. Check more than one area in irregular cuts. Use current food safety guidance for the ingredient and country where you are cooking.
Warning. Colour alone cannot prove that poultry or minced meat is safe. A clean looking centre can still be below the required temperature.
Step 8 Rest food correctly
Move cooked meat to a clean tray and allow an appropriate rest. Large pieces continue cooking from stored heat. Delicate vegetables and seafood may need little or no resting time.
Do not cover everything tightly. Trapped steam can soften crisp surfaces. A loose cover may be useful for a large roast in cool conditions.
Step 9 Finish seasoning after cooking
Taste before adding more salt. Fresh herbs, lemon, vinegar, oil, or a light sauce can bring definition to smoky food. Apply thick sauces in a controlled amount so they support rather than bury the main ingredient.
Takeaway. Final seasoning should correct and sharpen. It should not hide poor heat control.
Step 10 Serve in sensible waves
Do not wait for every item if some food is already at its best. Serve bread, vegetables, or smaller cuts while a larger joint rests. Clean serving tools and clear labels help when guests have dietary needs.
Warning. Do not leave cooked food at unsafe temperatures for a long period. Use suitable hot or cold holding when service cannot happen soon.
Step 11 Record the result
Write down fuel amount, vent position, weather, ingredient weight, cooking temperature, internal temperature, and resting time. Add one note about what you would change.
Photos can help compare colour, but notes explain how it happened. Repeating the same dish with one controlled change builds skill faster than cooking a different menu every time.
Keep the record short enough that you will use it again. A few accurate numbers and one honest observation are more helpful than a long account written from memory days later.
What should you do at your next cookout?
Pick one ingredient, prepare two heat zones, use a thermometer, and write down the result. That modest routine answers the most useful question in grilling, which is not what equipment to buy, but what action will make the next meal better than the last.